Introduction
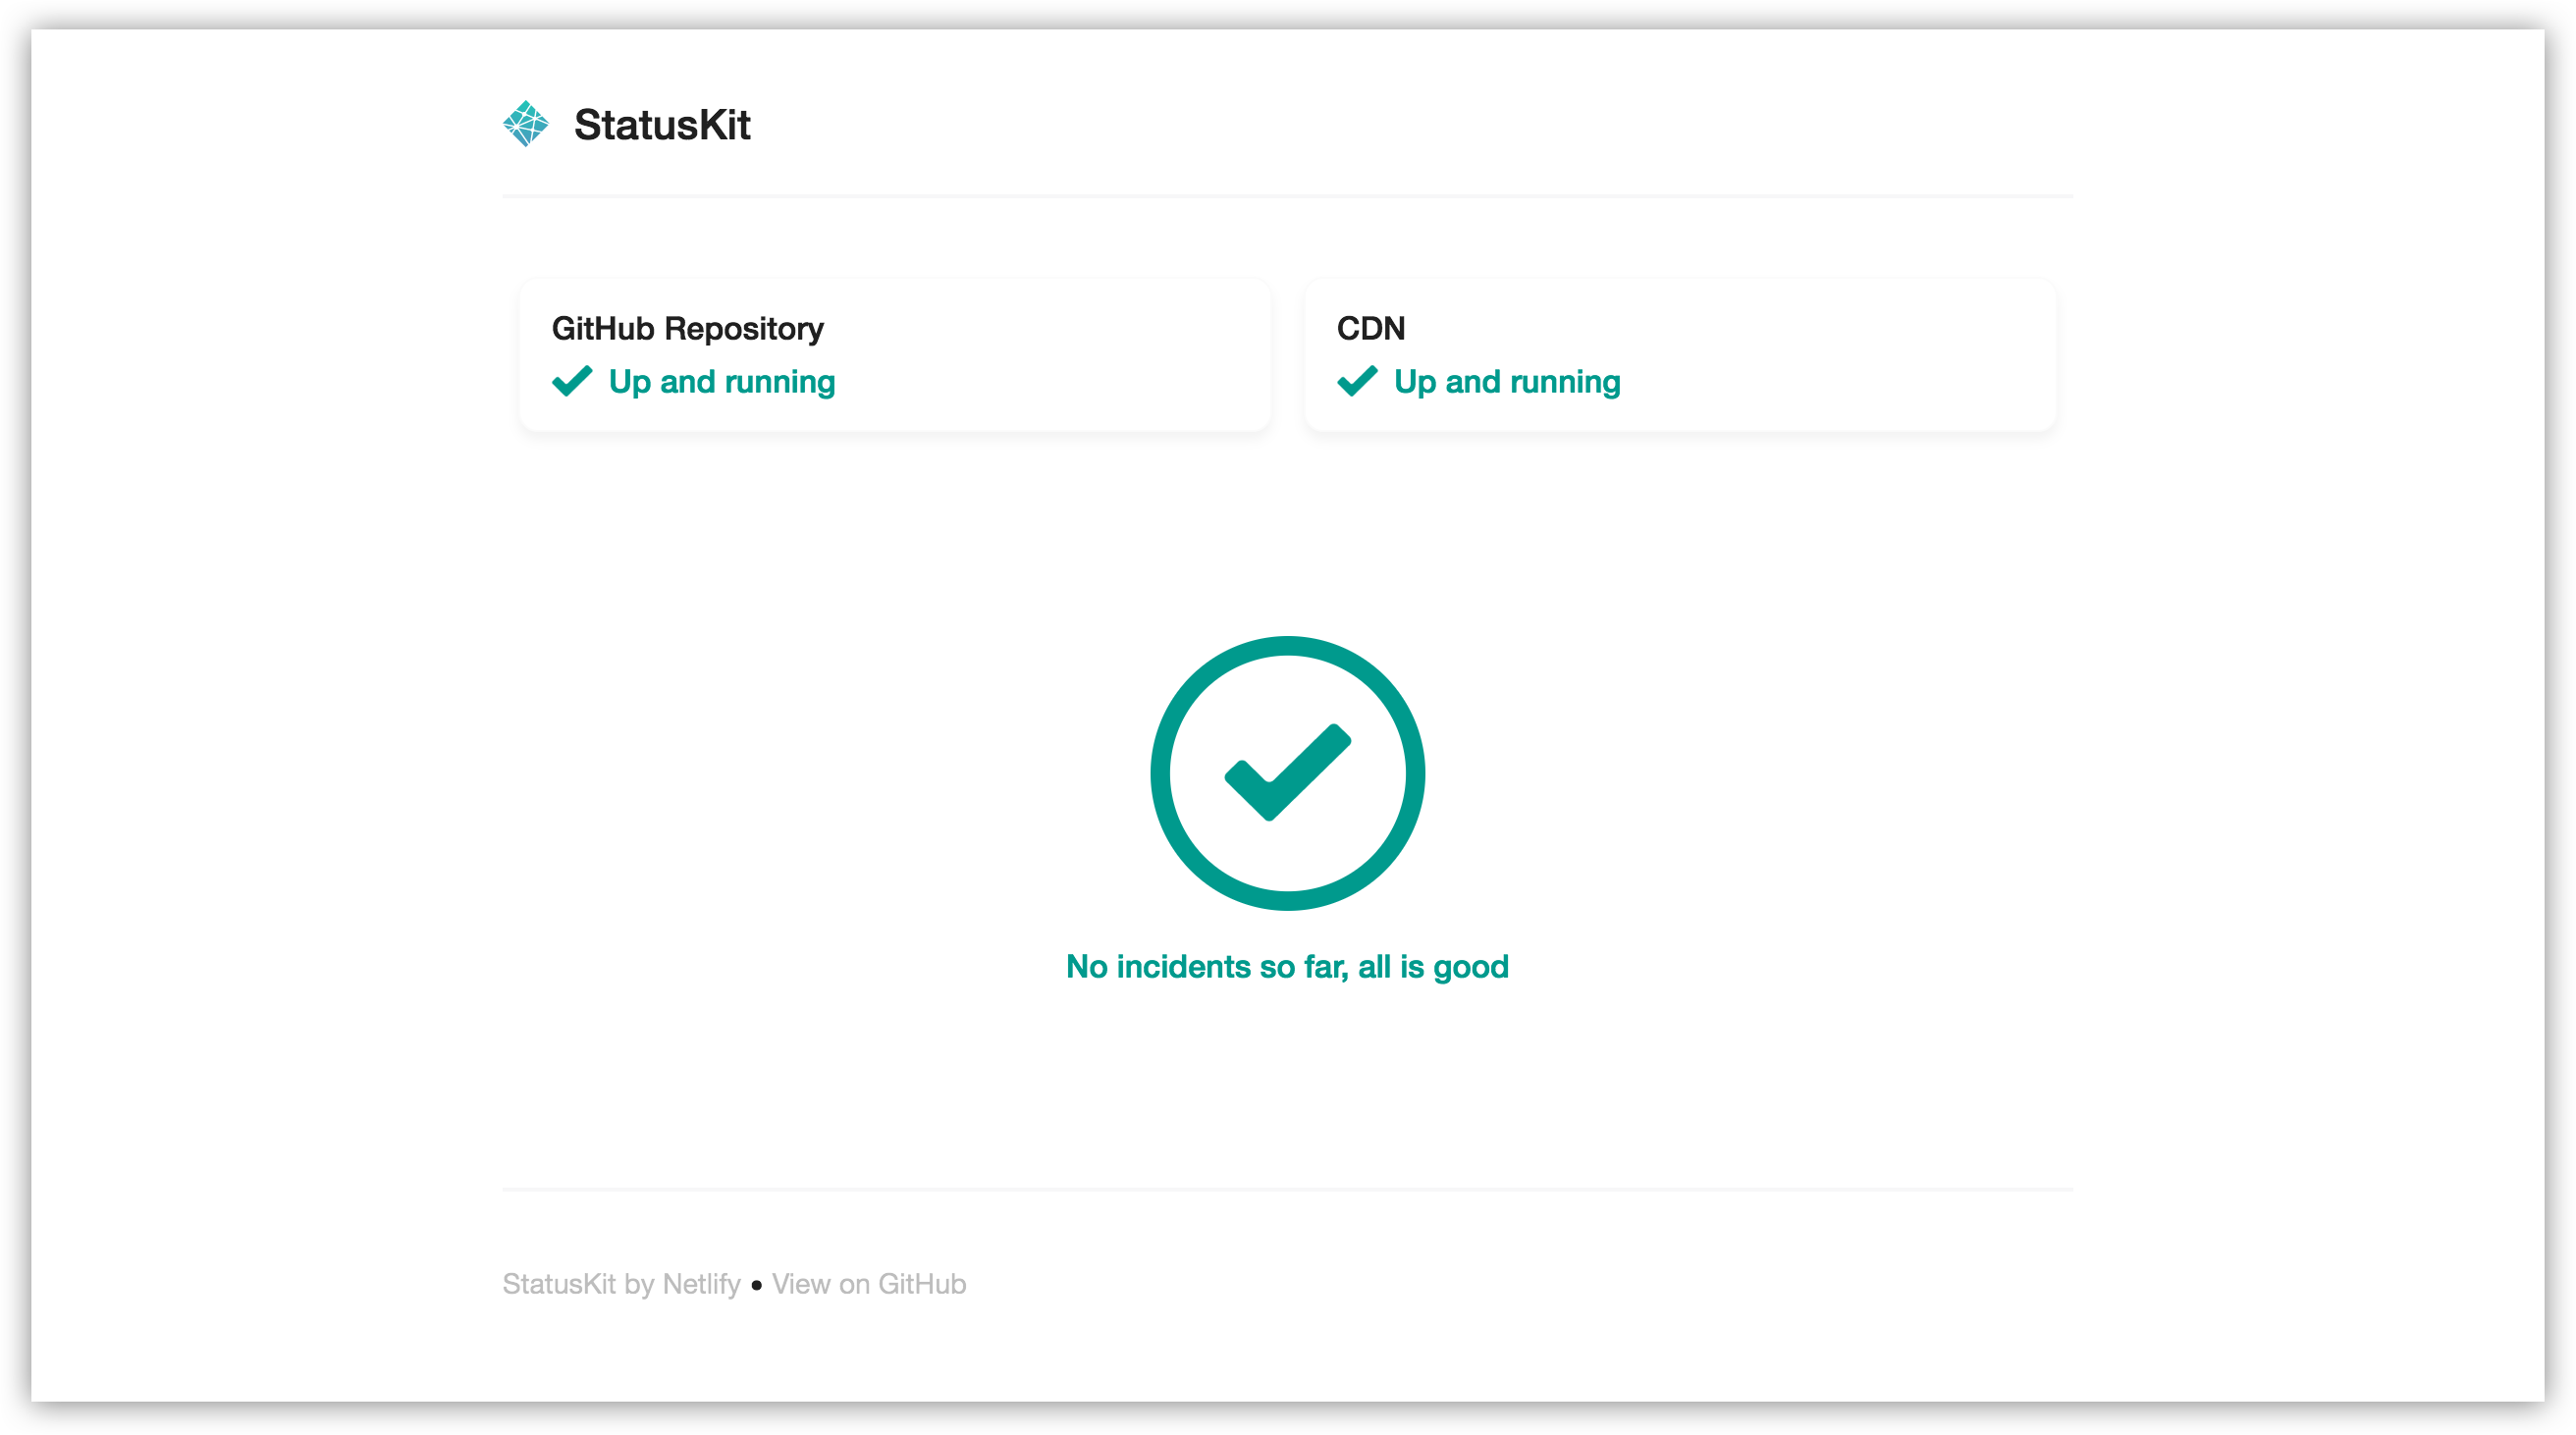
Netlify StatusKit is a template to deploy your own Status pages on Netlify.
Netlify StatusKit is released under the MIT License. Please make sure you understand its implications and guarantees.
Project Status
This project is no longer being maintained by netlify staff. This is a community led project and if you are looking to support this project, please get in touch via an issue.
Netlify's Statement
[Netlify] doesn't currently have the staff to process such contributions.
Initial configuration
Click in the Deploy to Netlify button above to create your own site directly and push this repository to your own account. Before creating the site, Netlify will ask you to fill required environment variables listed here:
STATUSKIT_PAGE_TITLE- Title to show in the browser for your status site.STATUSKIT_COMPANY_LOGO- URL to your company's logo.STATUSKIT_SUPPORT_CONTACT_LINK- URL to a support page for your users to talk with you.STATUSKIT_RESOURCES_LINK- URL to documentation for your users.
Extra configuration
After the site is created, you can modify the code as much as you want and push it to your GitHub repository. Netlify will pick up changes from there.
Reporting systems
You can add systems you want to report about to your Status page. For instance, you might want to tell your users about a status change in your CDN infrastructure but not in your API.
Go to site/config.toml and change the global systems variables. Once that's done, you'll be able to change the status of each one of those systems individually when you open or modify an incident.
Full customization
This template is based in Netlify's Victor-Hugo boilerplate.
To work on it you'll need NPM installed. To download dependencies type npm run dependencies, that will check if you have Hugo installed and will download it for you if you don't. It will also run npm install for the first time to download extra dependencies. After that, you can run npm install every time you want to install packages.
Managing incidents
Incidents are plain markdown files inside the site/content/incidents directory.
Creating new incidents
Adding incidents to your status page is as simple as adding a new document to the incidents collection. Create a new incident using npm:
npm run new-incident
You'll be asked a series of questions about the incident, then Hugo will generate a new file pre-filled with your responses.
After explaining the current situation in the incident, you can just push the file to GitHub. Netlify will deploy the indicent announcement for you in a matter of seconds.
Resolving incidents
Everything will be operational again when all incidents are marked with resolved = true in the incident frontMatter:
+++
...
affectedsystems = ["API"]
resolved = true
+++
Tracking activity
When there is an update in your incident you can track activity by inserting a timestamp with the update. For example:
**Update**: We've identified the issue. {{< track "2016-11-22T14:34:00.000Z" >}}
Development
Netlify StatusKit uses NPM to manage dependencies. It also bundles a version of Hugo to work out of the box.
- Use
npm installto download dependencies. - Use
npm startto start the development server.

