82 lines
3.4 KiB
Markdown
82 lines
3.4 KiB
Markdown
# Introduction
|
|
|
|
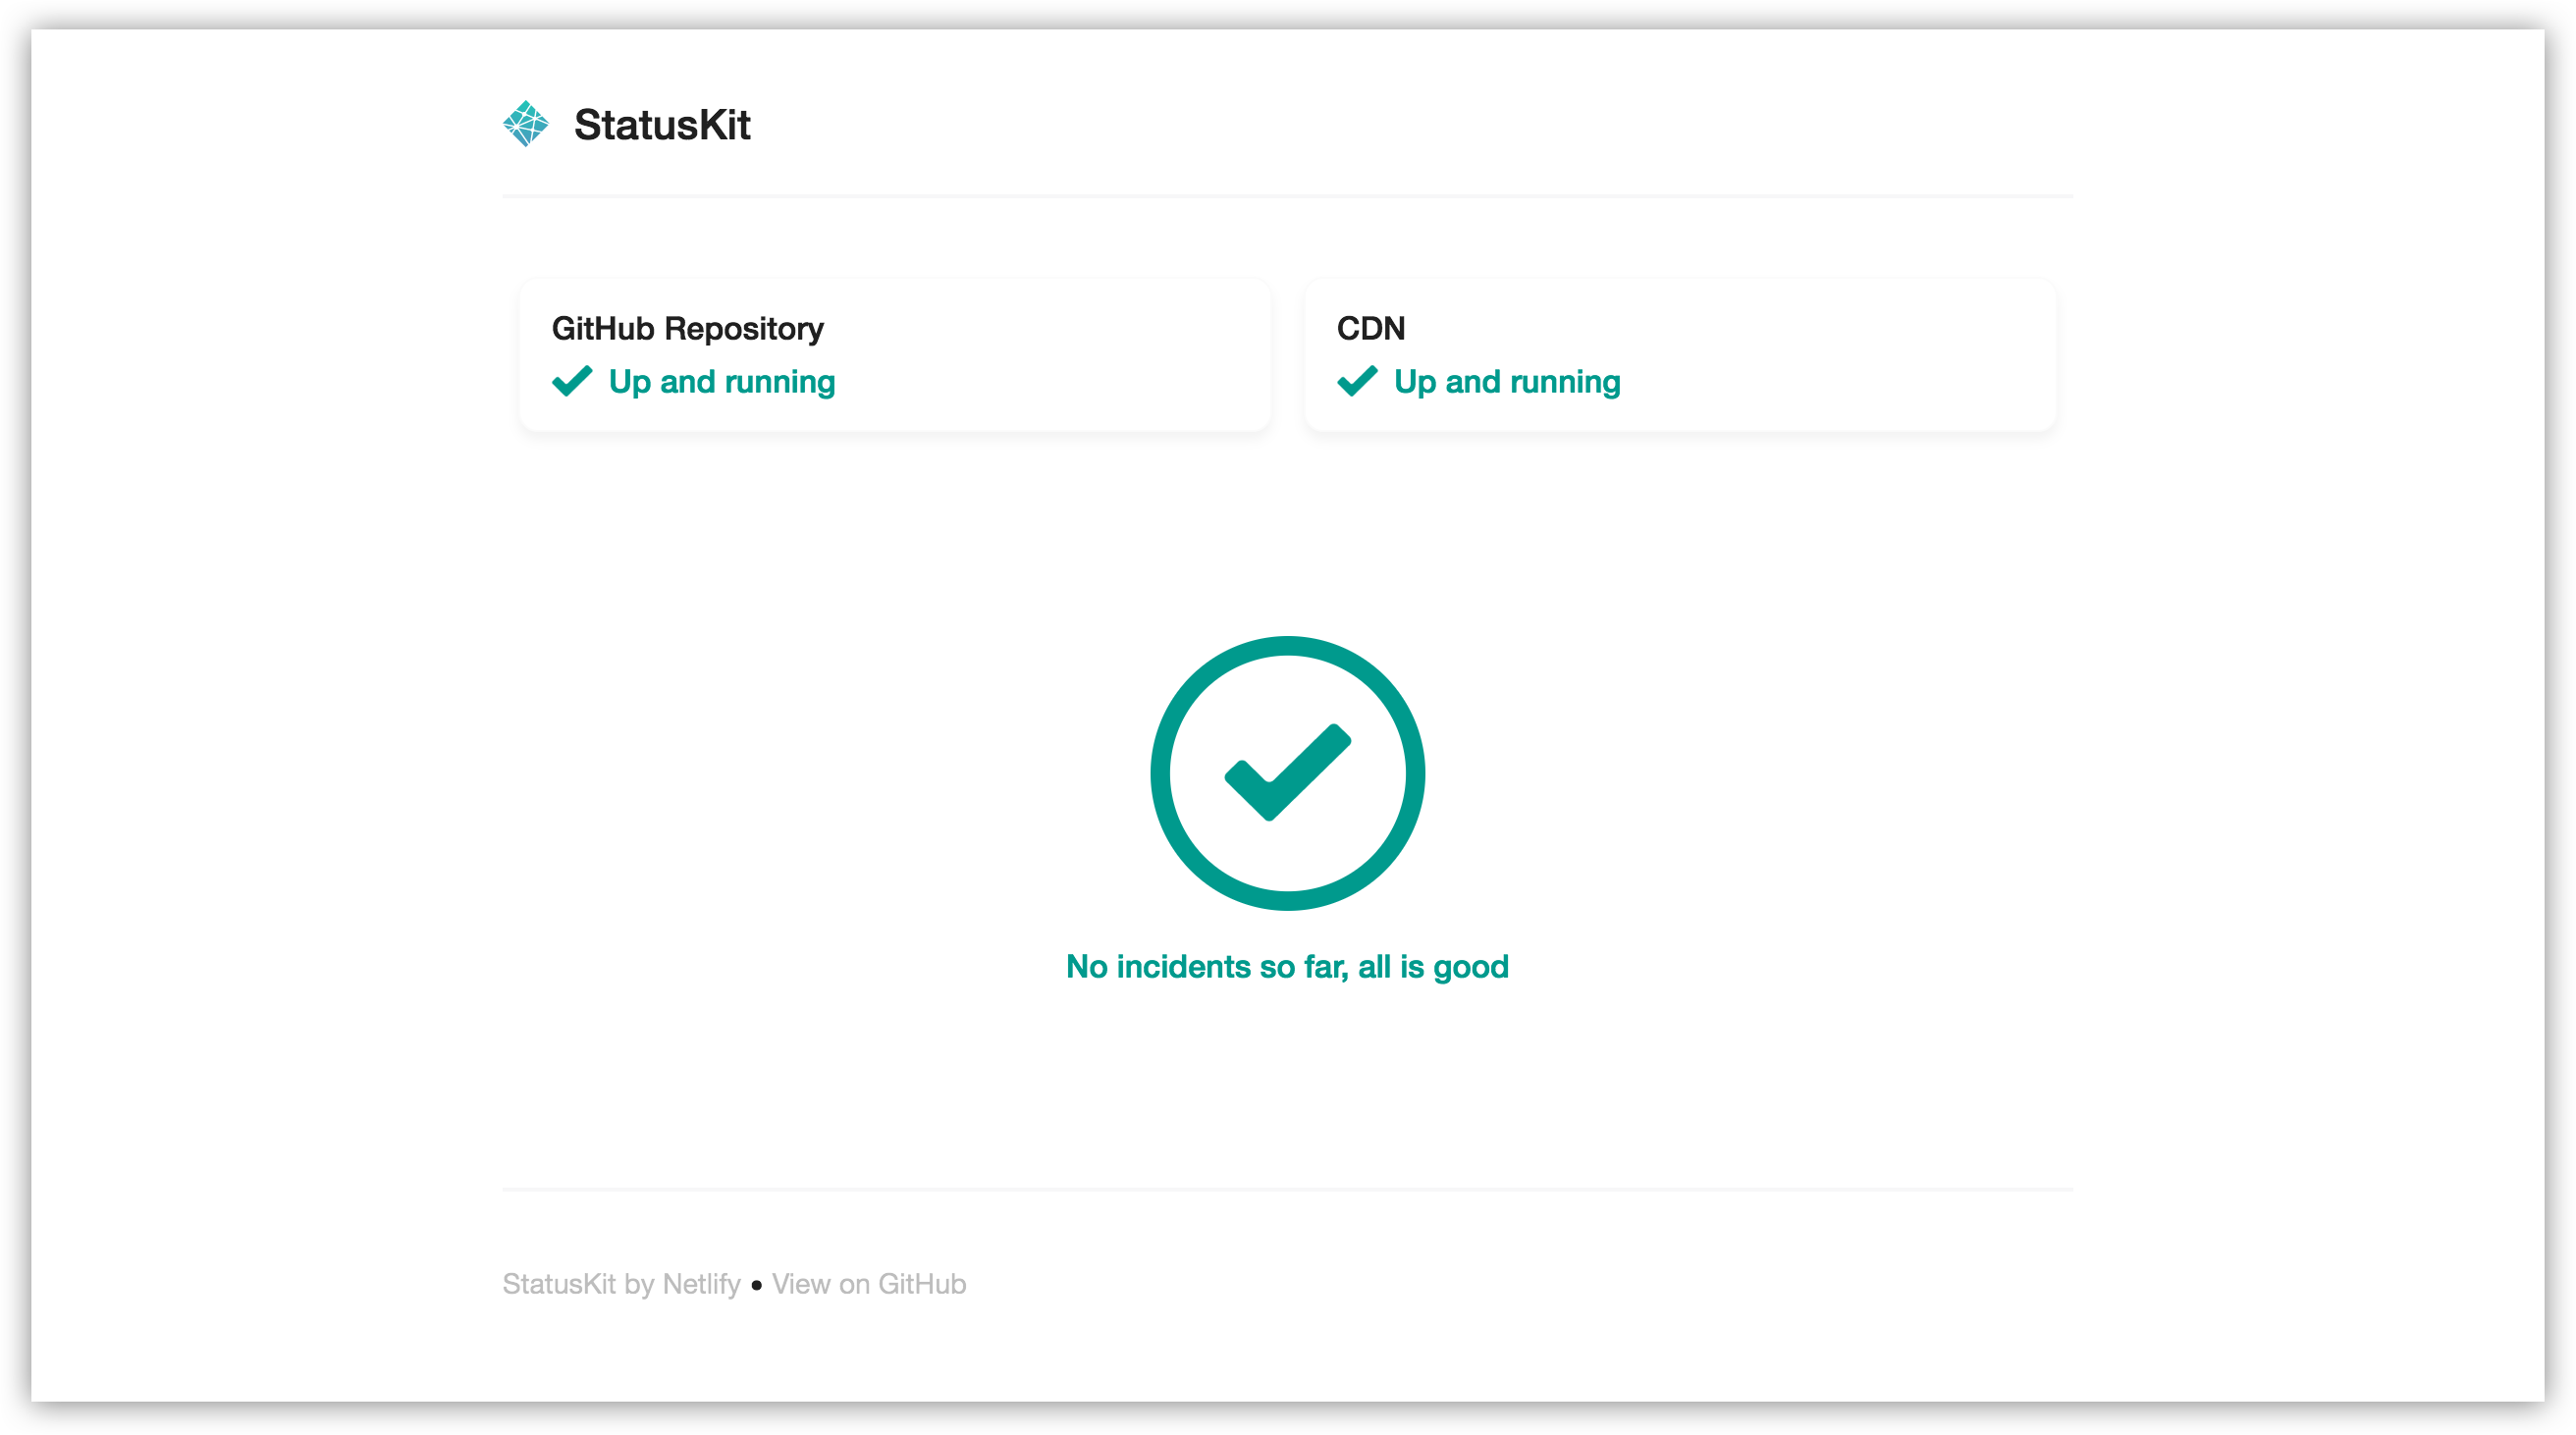
Netlify StatusKit is a template to deploy your own Status pages on Netlify.
|
|
|
|
[](https://statuskit.netlify.com/)
|
|
|
|
Netlify StatusKit is released under the [MIT License](LICENSE).
|
|
Please make sure you understand its [implications and guarantees](https://writing.kemitchell.com/2016/09/21/MIT-License-Line-by-Line.html).
|
|
|
|
[](https://app.netlify.com/start/deploy?repository=https://github.com/netlify/netlify-statuskit)
|
|
|
|
## Initial configuration
|
|
|
|
Click in the Deploy to Netlify button above to create your own site directly and push this repository to your own account.
|
|
Before creating the site, Netlify will ask you to fill required environment variables listed here:
|
|
|
|
- `STATUSKIT_PAGE_TITLE` - Title to show in the browser for your status site.
|
|
- `STATUSKIT_COMPANY_LOGO` - URL to your company's logo.
|
|
- `STATUSKIT_SUPPORT_CONTACT_LINK` - URL to a support page for your users to talk with you.
|
|
- `STATUSKIT_RESOURCES_LINK` - URL to documentation for your users.
|
|
|
|
## Extra configuration
|
|
|
|
After the site is created, you can modify the code as much as you want and push it to your GitHub repository. Netlify will pick up changes from there.
|
|
|
|
### Reporting systems
|
|
|
|
You can add systems you want to report about to your Status page. For instance, you might want to tell your users about a status change in your CDN infrastructure but not in your API.
|
|
|
|
Go to `site/config.toml` and change the global `systems` variables. Once that's done, you'll be able to change the status of each one of those systems individually when you open or modify an incident.
|
|
|
|
### Full customization
|
|
|
|
This template is based in [Netlify's Victor-Hugo](https://github.com/netlify/victor-hugo) boilerplate.
|
|
To work on it you'll need NPM installed. To download dependencies type `npm run dependencies`, that will check if you have Hugo installed and will download it for you if you don't. It will also run `npm install` for the first time to download extra dependencies. After that, you can run `npm install` every time you want to install packages.
|
|
|
|
## Managing incidents
|
|
|
|
Incidents are plain markdown files inside the `site/content/incidents` directory.
|
|
|
|
### Creating new incidents
|
|
|
|
Adding incidents to your status page is as simple as adding a new document to the incidents collection.
|
|
Create a new incident using npm:
|
|
|
|
```
|
|
npm run new-incident
|
|
```
|
|
|
|
You'll be asked a series of questions about the incident, then Hugo will generate a new file pre-filled with your responses.
|
|
|
|
After explaining the current situation in the incident, you can just push the file to GitHub. Netlify will deploy the indicent announcement for you in a matter of seconds.
|
|
|
|
### Resolving incidents
|
|
|
|
Everything will be operational again when all incidents are marked with `resolved = true` in the incident frontMatter:
|
|
|
|
```toml
|
|
+++
|
|
...
|
|
affectedsystems = ["API"]
|
|
resolved = true
|
|
+++
|
|
```
|
|
|
|
|
|
### Tracking activity
|
|
|
|
When there is an update in your incident you can track activity by inserting a timestamp with the update. For example:
|
|
|
|
```md
|
|
**Update**: We've identified the issue. {{< track "2016-11-22T14:34:00.000Z" >}}
|
|
```
|
|
|
|
|
|
# Development
|
|
|
|
Netlify StatusKit uses NPM to manage dependencies. It also bundles a version of Hugo to work out of the box.
|
|
|
|
1. Use `npm install` to download dependencies.
|
|
2. Use `npm start` to start the development server.
|